
Track element visibility in Google Tag Manager
Sometimes you may want to understand how many visitors actually see specific text blocks, CTAs, contact forms, or other elements on the page. Element visibility trigger in Google Tag Manager allows you to easily track any element on the page. In this post, we will take a closer look at how to use it.
In case you prefer video format, you can watch it below. You can also subscribe to my YouTube channel!
Element visibility trigger overview
As the name states visibility trigger fires once specified element(s) is visible on the page.
Let’s take a look at a simple example page structure below:
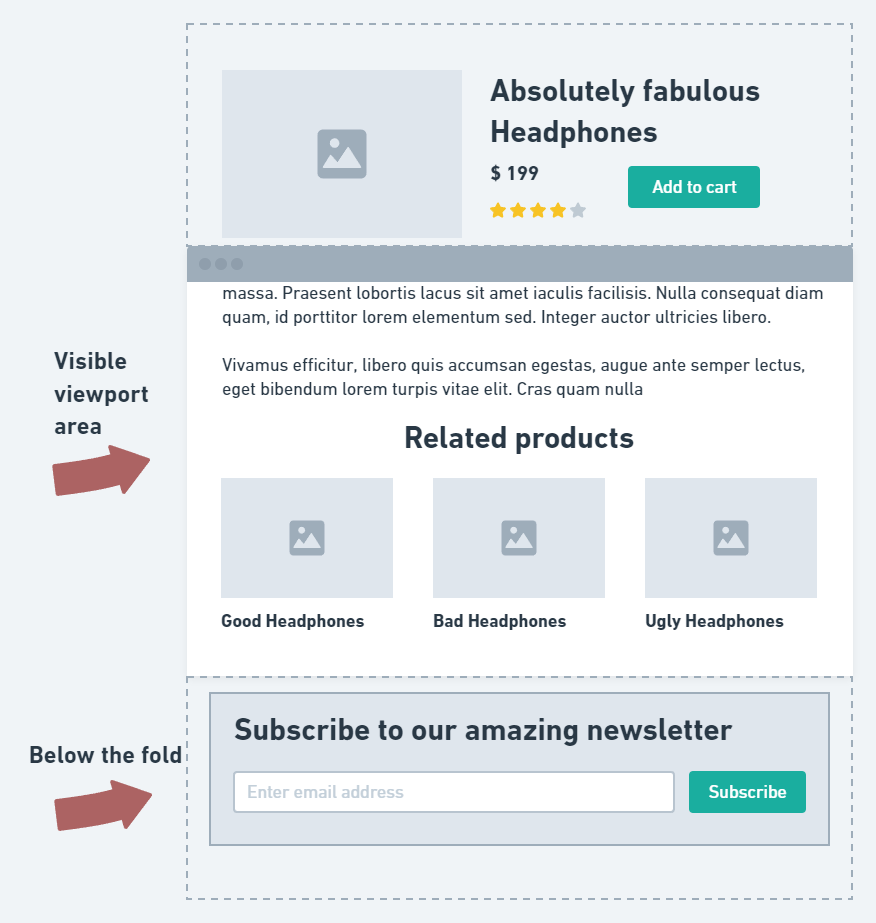
In a nutshell, Google Tag Manager can trigger visibility for elements that match the given ID or CSS selector and are located in the visible viewport area (white section).
In this example, if our trigger targets a related product block, then the event is sent.
If we targeted the subscription form then no visibility event will be fired unless the visitor scrolls down to partially or completely reveal the block and match the visibility duration conditions.
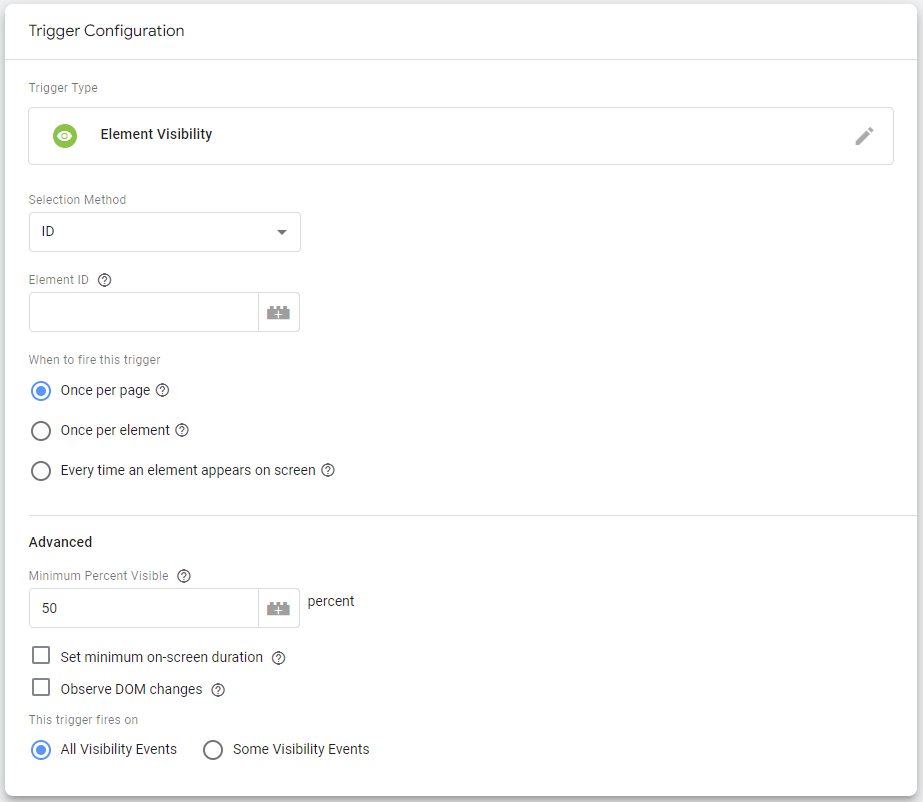
You can find the Element visibility trigger type when creating a new trigger under the User Engagement section.

When selected you will see the following settings by default and we will take a look at how and when to use any of them.
Select target element
To trigger any events on element visibility you need to provide either an element ID or an element CSS selector. The easiest way how to find what class names or ID values you could use is by inspecting elements in the browser.
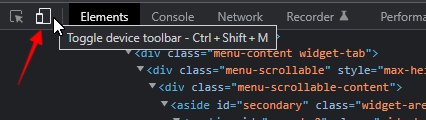
Right-click on the element that you want to track in the browser and select “Inspect”. The screenshot below is from Chrome, but you will see a similar option in other major browsers as well.
The inspected element is highlighted in the developer console. You need to double-check if the selection actually represents the whole block that should trigger the visibility event. If more elements of the same block should be included just go up the node tree. Currently inspected element is usually highlighted on the page in Chrome.
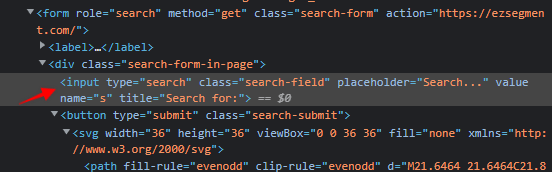
In my example, I want to trigger visibility once the search block is seen, so I might need to use the parent element instead of the input field itself.
In this case that would be an element with the class name “search-form-in-page” instead of <input>.
Note that there might be differences in layout and class names & IDs between desktop and mobile screens, so make sure to check those separately in the inspect mode.
You can toggle between devices in the Chrome developer console’s left top corner and refresh the page (as it might be rendered differently already from the server side).
Selection method – ID
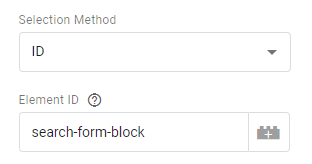
If the element that you want to track has a unique ID attribute then you can use the selection method “ID” and provide an ID value for the element.
For example, if my search form block would contain the following id attribute:

Then I can select ID as my selection method and provide “search-form-block” as a value as shown below.
Selection method – CSS selector
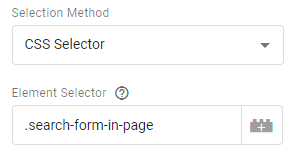
Most often your targeted elements won’t have an ID attribute. In such cases, we need to get creative with CSS selectors. You will need to search either for a unique class name value or use a different CSS selector.
In my example, I could target the site search block using “.search-form-in-page” as my selector. I’m using a dot before the class name as part of standard CSS selector notation.

Be sure to check if this class name is actually unique on this page or on the website overall so that the visibility trigger is fired in the correct place. To avoid tracking unintended items you might want to additionally limit visibility triggers to fire only on a specific page.

Triggering options
You can control how many times a trigger is fired on the same page when an element matches a given ID or CSS selector.
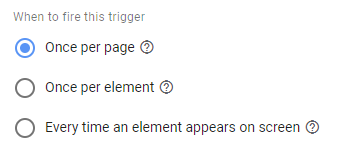
Once per page

When selected, a trigger will fire only once per page even if multiple elements with the same ID or CSS selectors are visible in the viewport.
For example, if you have 3 blocks with CSS selectors “.search-form-in-page” and you scroll past all of them: Trigger will fire 1 time.
Once Per element

When the CSS selector method is used – the trigger will fire one for each element matching given selector.
The same example – if you have 3 blocks with CSS selectors “.search-form-in-page” and you scroll past all of them: Trigger will fire 3 times.
When you are using ID as a selector – The trigger will fire only 1 time. A trigger could still fire multiple times if your element is removed using JavaScript and then inserted into the page once again (with the same ID).
Every time an element appears on screen

As the name states – trigger will fire each time matched element is visible in the viewport.
Same example – if you have 3 blocks with CSS selectors “.search-form-in-page” and you scroll past all of them: Trigger will fire 3 times.
Then if you scroll them out of the visible area (viewport) and scroll back in: Trigger will fire 3 more times (6 in total).
Advanced options
Minimum Percent visible
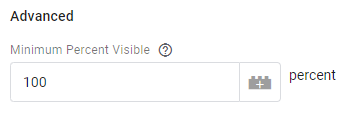
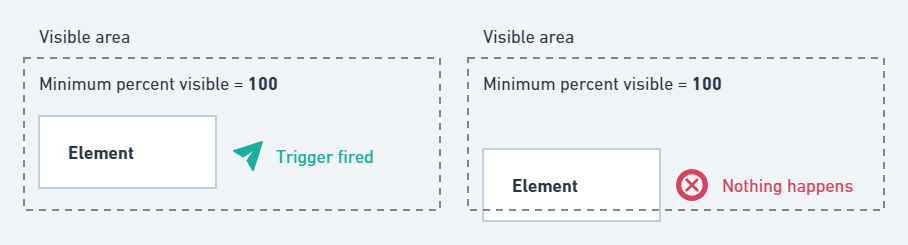
Using this setting you can set how much of element area should be visible on the screen to trigger visibility. For example, if you enter “100” percent then the whole element should be visible before trigger fires.
Visibility duration
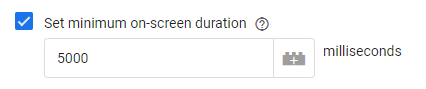
You can set a minimum on-screen duration in milliseconds before trigger fires. Visibility duration is cumulative and counts the total time the element was visible on the same page (or until page reload).
For example, if an element is visible for 3 seconds, then hidden, and then again visible for 10 more seconds, then the total on-screen duration will be 13 seconds (13 000 milliseconds). In this case, trigger will fire if the minimum on-screen duration is set to 13000 milliseconds or less (if used).
Observe DOM changes

This setting will be useful if the target element appears on the page asynchronously (without page refresh). For example, it would be useful if you submit a form that shows some kind of success message on the same page. You can then target the success message CSS selector and use Observe DOM changes setting to trigger an event.
Summary and next steps
Element visibility trigger in Google Tag Manager in my opinion is one of the most useful conditions to trigger tags that is available out of the box. You can use it in various creative ways to better understand visitor behavior on your website. As the next step you can check a couple of practical examples using visibility trigger in GTM:

Great!
I was struggling to make this work and your note about id save me tons of time, now I can track several elements with the same css selector.
Thanks! Glad it was useful
I haven’t seen such a clear way of explaining GA4 aspects with anyone else so far. Thanks for resolving my doubts around element visibility. appreciate a lot!
Your explanation with screenshots is really amazing and very clear. Thank you. good luck with your efforts. 🙂