Page Translation tracking using Google Tag Manager and GA4
Recently on one of my projects, we noticed some issues with the page layout when a page was translated using Chrome’s built-in Google Translate functionality. To estimate affected user share we wanted to understand how many people actually translate pages to other languages when visiting a website.
One solution to this problem was published by Julius Fedorovicius a while ago where he provides a good JavaScript-based solution to track page translations.
I thought that using MutationObservers might be a bit of an overkill for this purpose so here is my take on how to track Page translations in Google Tag Manager in a less complicated way.
What are Page translations and how we will track it
In this post, I will show how we can easily track Google page translation in Chrome and collect this data in Google Analytics 4 as events.
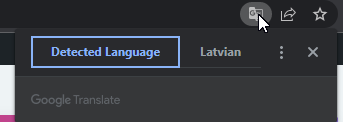
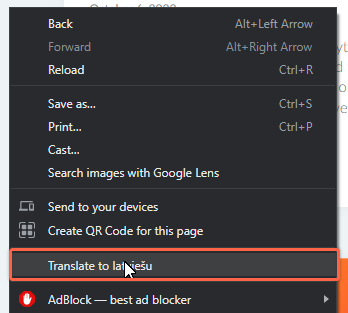
This option usually appears in the address bar or by using a right-click on the page and picking the “Translate to…” option.
Today I will not cover page translations using https://translate.google.com/ we will track only those visitors who translate the page while being on the website.
How we will track the “Translate to…” functionality
When the page is translated HTML object is decorated with an additional class name that contains “translated” and language attribute. We will use a simple Visibility trigger on the body element together with a DOM change listener to track those cases.

Additionally, a regular website (non-SPA) may require a limiting condition to prevent event firing on each pageview since after translation was enabled class name “translated…” could be set by default on any following pages. This means that on every page load visibility trigger will be triggered unless we have a limiting condition. For this, we will set and use a session cookie.
Creating a visibility trigger
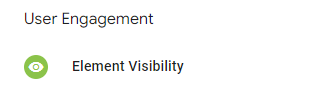
In Google Tag Manager go to the Triggers section and create a new trigger. Select type – Element Visibility.
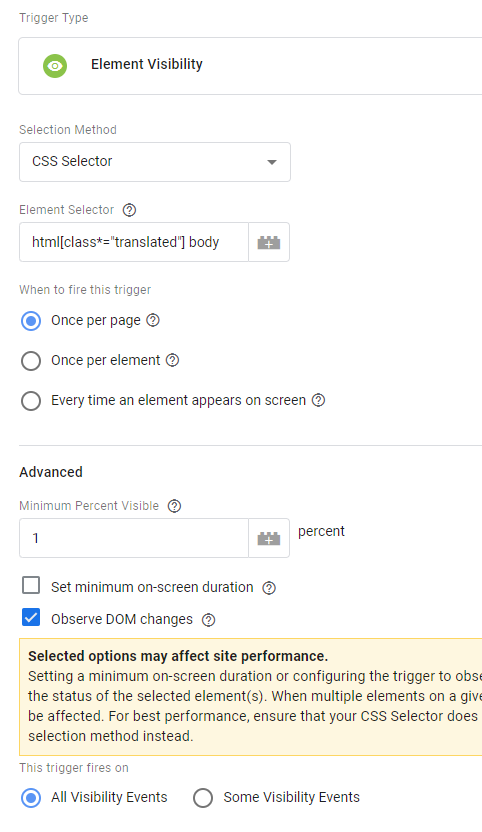
Since the class name of translated page changes to “translated-ltr” or “translated-rtl” (depending on the language picked), we will use the following CSS Selector:
html[class*="translated"] bodyNotice that above we are targeting a “body” element visibility that is a child of an HTML object where the class attribute contains “translated”. You can just copy and paste it into your Element Selector field since it will be the same for every website once a page is translated.
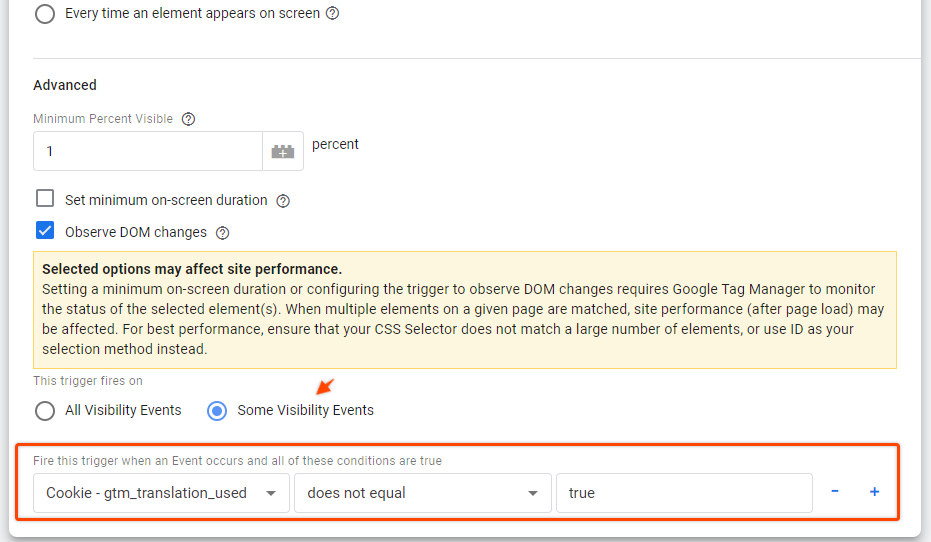
- Fire this trigger once per page
- Set Minimum percent Visible to 1 percent
- Enable the “Observe DOM changes” checkbox
It’s important to use 1 percent since we want this event to fire right away after the translation was applied. Also since the class name is applied without page reload we need to observe DOM changes.
Your trigger settings should look like in the screenshot below:
Let’s save the trigger for now.
Creating a page translation event tag in GTM
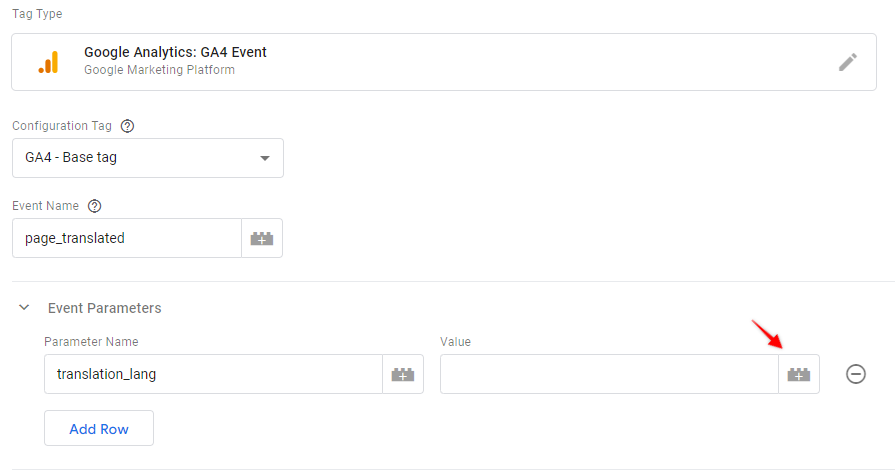
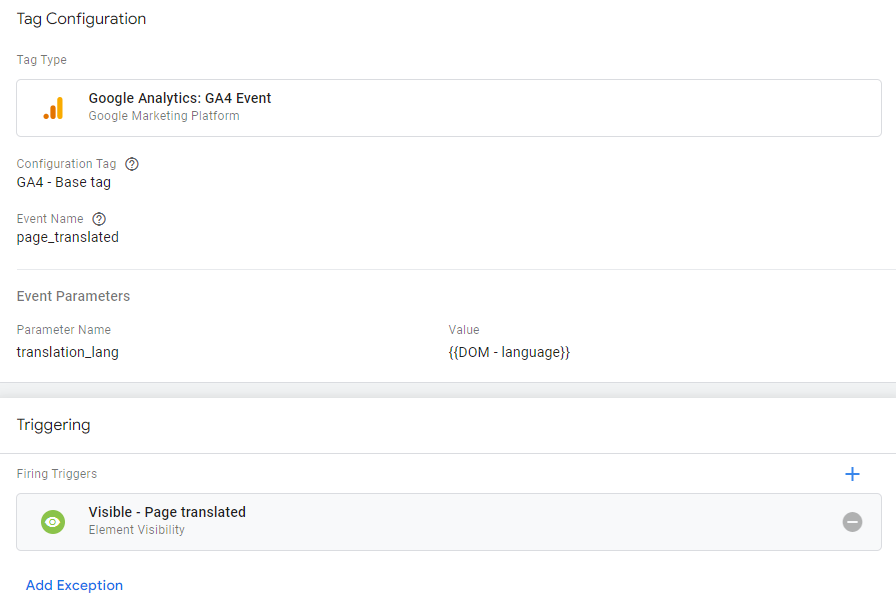
Go to the Tags section and create a new tag with Type – GA4 Event.
- I will use the event name “page_translated”
- Additionally, I want to pass information about the used language so I will add an additional event parameter – “translation_lang”.
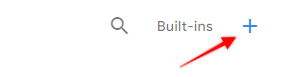
- For the translation_lang value, we will create a new variable by clicking on the “plus” icon.
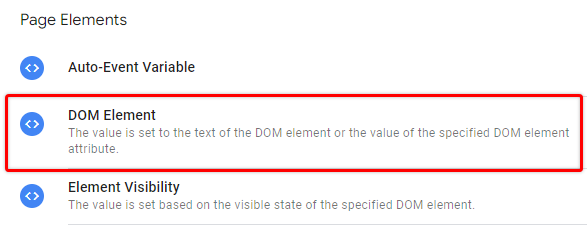
- Select DOM Element variable type
- Provide the following CSS selector:
htmlIt will fetch just the HTML element that I had in the screenshot above.
- In the attribute name field use “lang” to fetch the language code added by Google Translate.
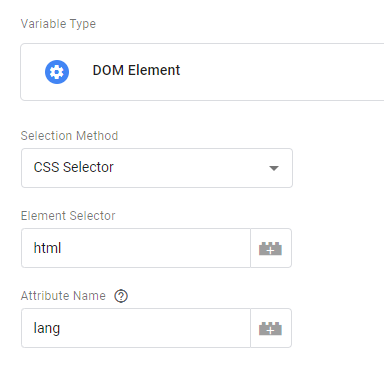
In the given example this variable would return “lv”.

You can check another article on how to work with the DOM Element variable in Google Tag Manager if you haven’t worked with this variable type before.
- Save the variable
- Add a visibility trigger to our tag (the one that we have just created above)
- Save the tag
Create translation language dimension in Google Analytics 4
In order for the “translation_lang” parameter to work, we need to register it as a custom dimension in Google Analytics 4.
- In GA4 go to Configure > Custom definitions section and create a new custom dimension.
- Provide the same parameter value that you have used in the GTM event tag above. Use Event scope.
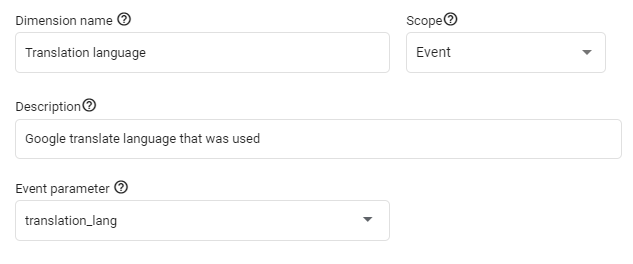
- Save custom dimension
Test page translation tracking in GTM preview mode
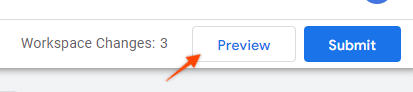
In Google Tag Manager enable Preview mode and then make a translation on the website.
I will translate my blog page from English to Latvian.

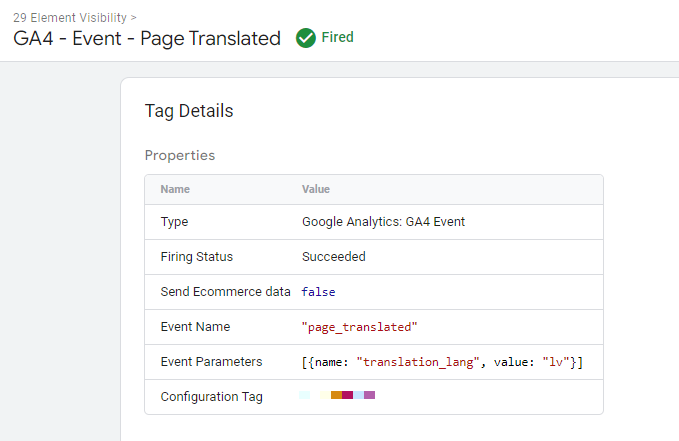
Open the tag assistant tab and check the summary column. You should now see an Element Visibility event. When selected it should show the Page translation event tag being fired.
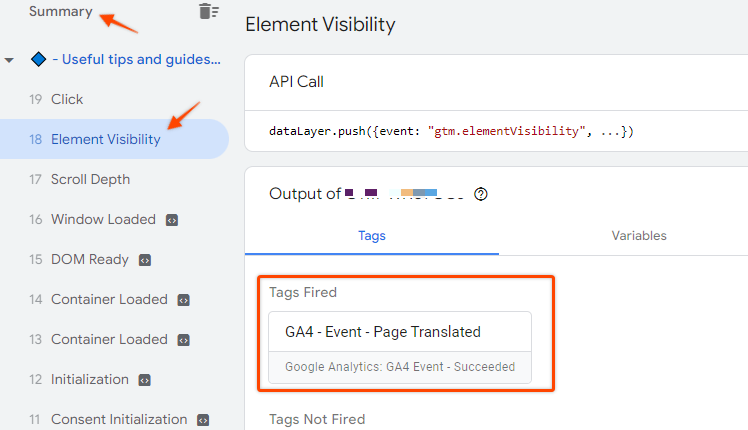
If you click on the tag you should also see a correct language code being sent in the translation_lang parameter.
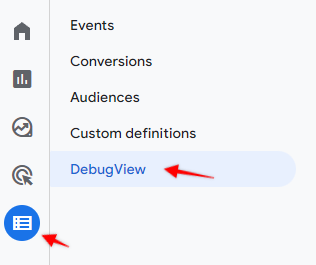
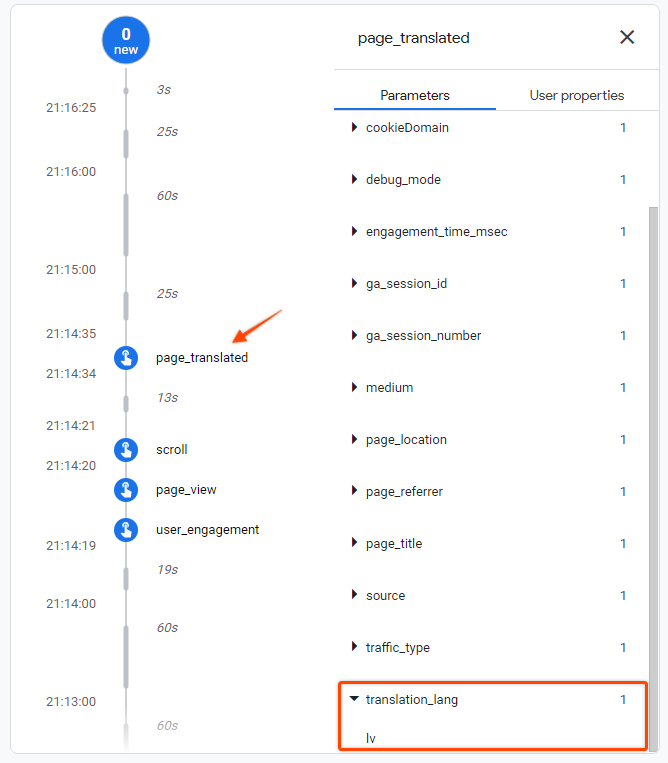
You can make sure that the page translation event is reaching Google Analytics 4 reports by opening Configure > DebugView section. There you should see “page_translated” event with a translation language parameter.
And that’s it. If everything works as expected publish the GTM container and start collecting translation events.
Translation events triggering on each pageview?
When you translate the page in Chrome it might save your preference when you navigate to another page within the same website. With the setup above it will cause an additional “page_translated” event to be fired on each such page view.
If this is the case on your website you can add a limiting condition to the visibility trigger to fire this event only once per session. Setting a cookie in GTM would be the easiest way how to approach this.
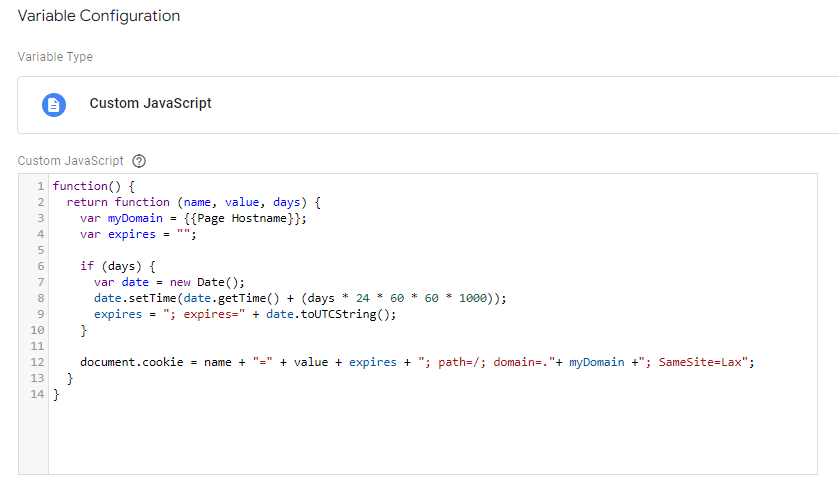
Create a new Custom JavaScript variable in GTM and use the following code template for creating a cookie. You can check the article linked above on how to work with cookies in Google Tag Manager.
function() {
  return function (name, value, days) {
    var myDomain = {{Page Hostname}};
    var expires = "";

    if (days) {
      var date = new Date();
      date.setTime(date.getTime() + (days * 24 * 60 * 60 * 1000));
      expires = "; expires=" + date.toUTCString();
    }

    document.cookie = name + "=" + value + expires + "; path=/; domain=."+ myDomain +"; SameSite=Lax";
  }
}
Create a new custom HTML tag that will set a cookie named “gtm_translation_used” when the first translation event appears. We are not providing any expiration period so the cookie is deleted when the session ends.
<script>
  {{CJS - Create cookie}}('gtm_translation_used',"true");
</script>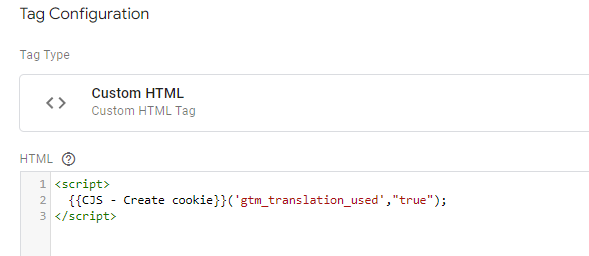
Don’t forget to select the same Visibility trigger that we have used for your Page translation event in GA4.
Save the tag.
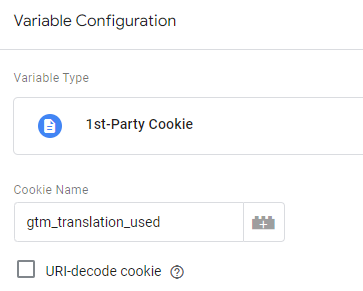
Now we need to set an additional condition for the same visibility trigger to fire only when the cookie value is “true”.
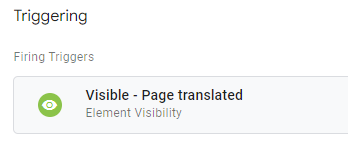
Create a new user Defined variable with the type “1st-Party Cookie” and provide a cookie name – “gtm_translation_used”.
This variable will return the value of the given cookie (if any exists). So all we need to do now is to apply it to our page translation visibility variable like this:
The logic here will be that when our cookie contains a value of “true” this event won’t fire. And the value for the cookie is set only when the first translation event has launched and deleted once a visit ends.
Same as with standard implementation – Enable preview mode and make sure that:
- First-page translation event is triggered
- A new cookie should be available in the list as soon as the first translation is made

- No page translation events should be fired within the same session as any new pageviews.
Find page translation data in GA4 reports
In default reports you can find Page translation data under the Engagement > Events section.
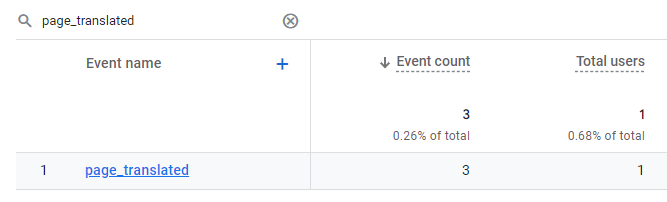
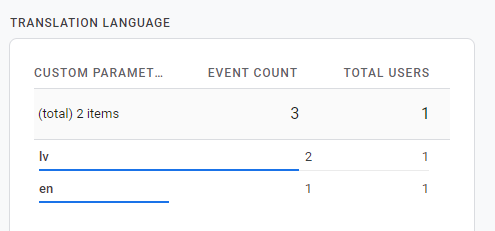
If you click on the event, on a separate card you should be able to see the most common languages that visitors used. However, to have more context to this data, e.g. see pages that were translated or split it per any other default dimension – you will have to create a custom report.
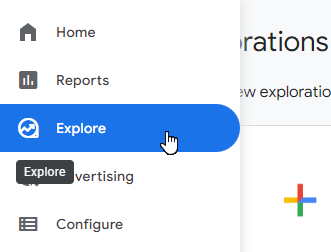
To split data per page (or any other dimensions) open the Exploration section and create a blank report.
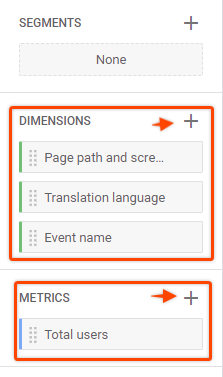
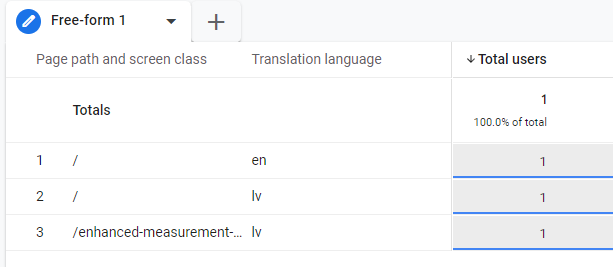
Import dimensions – “Event Name”, “Page path and screen class” and “Translation language” (or search by the name that you have used for your custom dimension. Import total users as a metric.
Double-click on every imported dimension/metric to add them to the report.
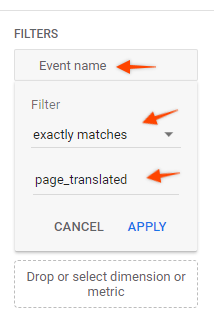
Under tab settings find the “Filters” section and add an Event name filter to exactly match “page_translated” and hit Apply. This way we will show only this event in the data table.
You should now see what language was used in the translation on each page. You can add an additional filter to filter only specific pages or use completely different dimensions, this is just an example of how to extract this information in GA4 custom reports.
Summary
In this post, we looked at another alternative how to track Page translations using Google Tag Manager and GA4. This method should be much easier to implement for less technical marketers and get insights on how often page translation is used on a website.
I hope you found it helpful and let me know if you’ll have any issues in the comments!

This works great! Are there any tips for how we can also document the pages visited (URL) while the translation language is selected? This will help us know what our community is interested in.
Hi, you can skip the implementation of limiting condition (cookie variable above), and the event will fire on every page that was translated. Then you can use same report that was described above to see all pages that were seen with translated content.