
Google Tag Manager export (and import) any container
When working with multiple websites and GTM containers your work might get a little repetitive. Often same tags and techniques can be applied to many different websites with slight adjustments. Google Tag Manager export (and import) functionality will save you some time in those scenarios and we will take a quick look at how to use it in this post.
Export Google Tag Manager container
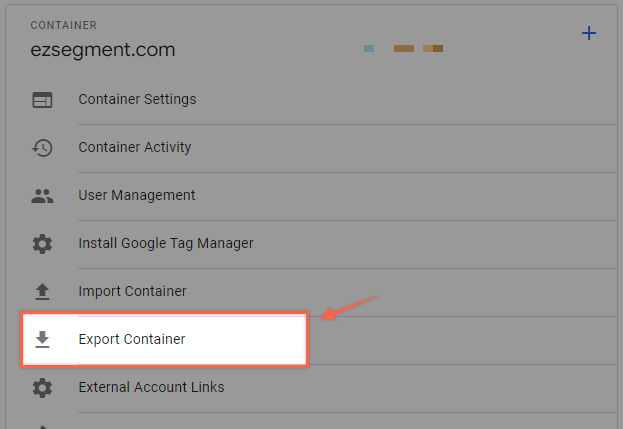
Open the “Admin” section in GTM and select the “Export Container” option under the container menu.

Then you can pick the workspace or container version where you want to export your setup. If you want to export something that is not published yet you should pick one of the workspaces.
Once you select a version or workspace you will see a summary of all your container components.
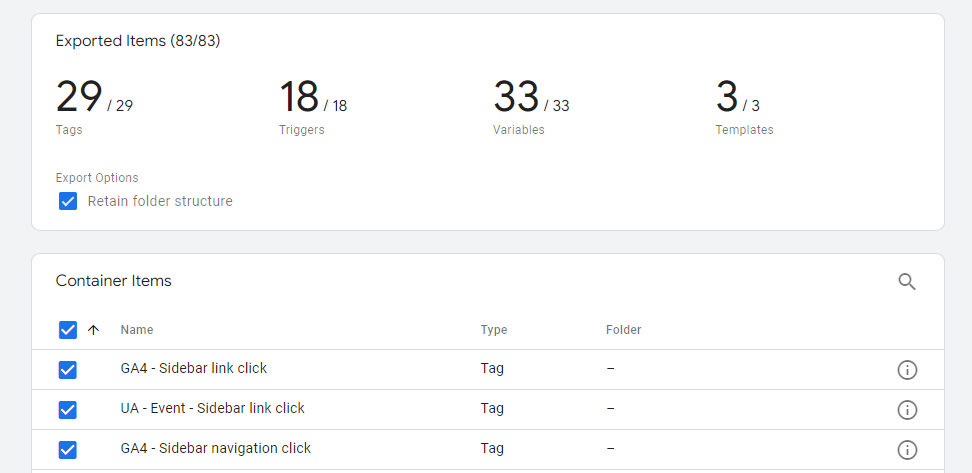
By default everything will be pre-selected and if you click “Export” it will download a JSON file with all GTM container contents.
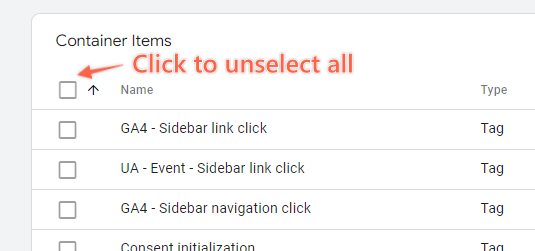
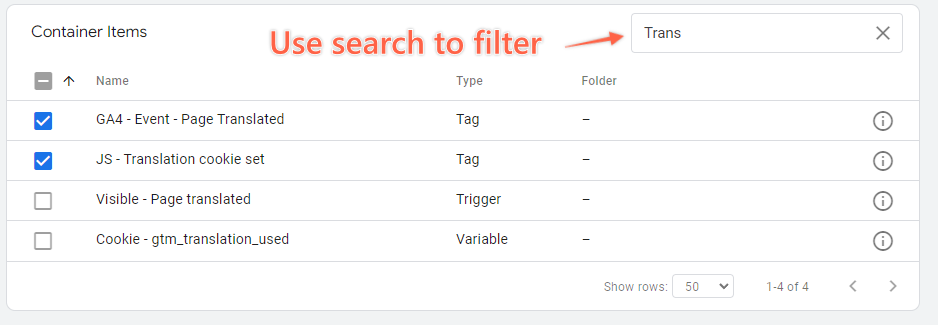
Usually you won’t need a full export unless you are migrating whole setup to another GTM container. To export only some of the tags you can unselect everything and then use a search box to find exact components that you want to export.
If you select components that rely on other variables / tags / triggers which are not included in the export then you will see a warning message.
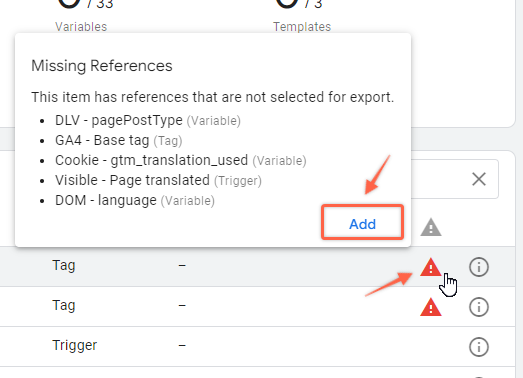
It’s best to make a partial export including all linked references otherwise the setup won’t work when imported to another container. GTM will show a warning sign next to selected elements that are missing some references.

If you hover on it you can easily add any missing components by clicking “Add” button.
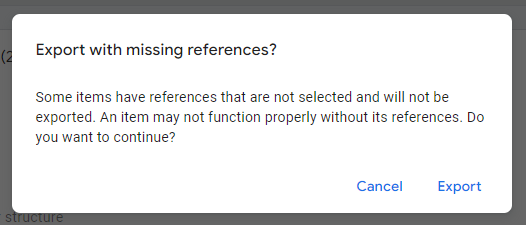
In some cases you might want to skip several references and proceed with the export inspite of the warning for referenced components that already exist in the target container (where you will make an import).
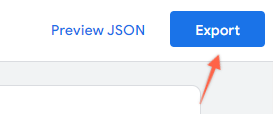
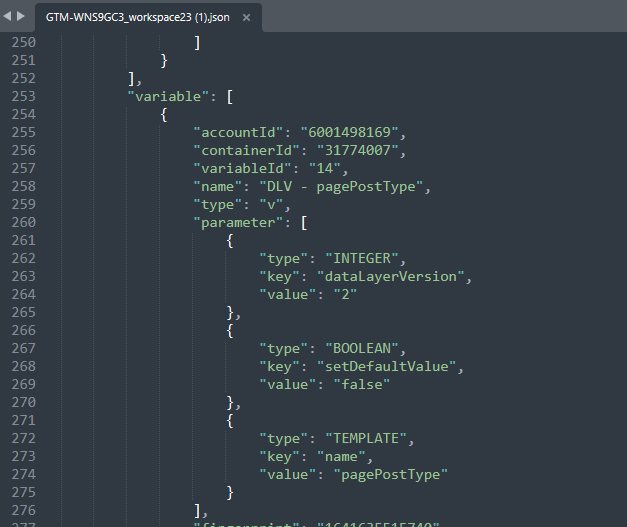
Once you are ready click on “Export” and you will download JSON file with your GTM configuration. You can also open it in any text editor and make some changes in bulk (e.g. changing conversion IDs, adjusting naming convention, etc.)
Import Google Tag Manager container
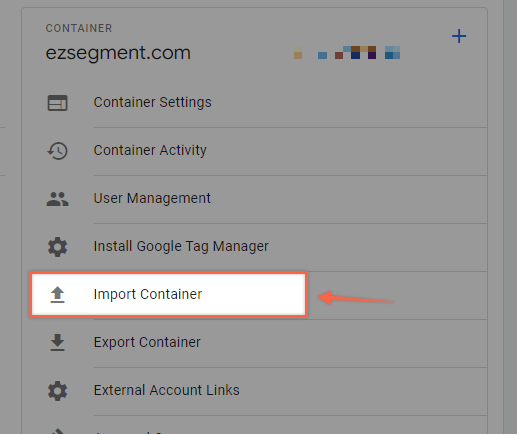
To import a container go to Admin section and now pick “Import Container” option.
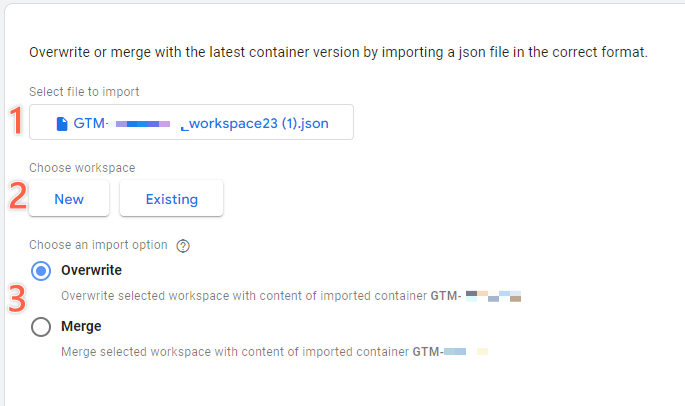
- Choose a container file (the one you have previously exported).
- Decide if you want to create a new workspace or use existing one.
- Pick Overwrite option ONLY if you want to replace everything in the existing container with imports. If you just want to import something additional select “Merge”.
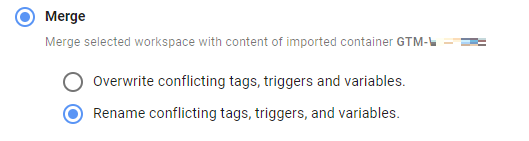
For “Merge” option you can select if you want to overwrite conflicting components or rename them. I always pick “Rename” just in case I have some components with the same name. You can delete them from the workspace after reviewing imported components.
After you have provided all the details you can preview changes, and if everything looks good – Confirm.
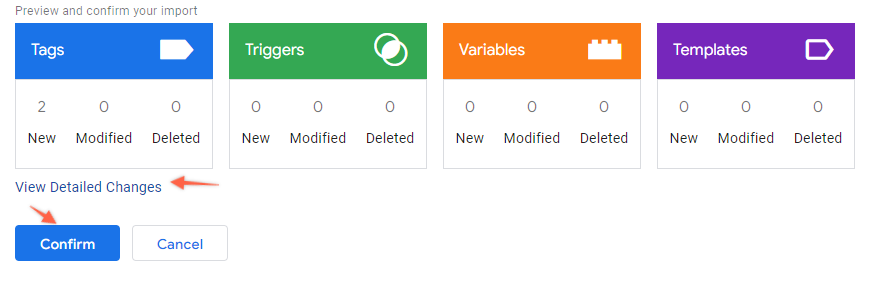
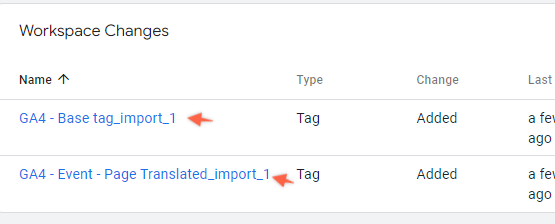
Now you can edit new tags, triggers and variables as you would normally do in a workspace. Any components that have conflicting names with existing tags will be added a “import_1” to the name (in case you picked Rename option).
Final thoughts
As you can see it is now very easy to export and import Google Tag Manager contents between different containers. The common use cases that you might want to use it for:
- Managing tags for multiple similarly structured websites
- Preparing templates for different common tracking use cases
- Doing changes in bulk for multiple components (e.g. naming changes or tracking ID changes)
- Using a version control system (like Git) to monitor/approve changes
- Automating some GTM component creation using a custom script.
