
Click tracking using Google Tag Manager
In this article, we will take a look at how to set up Click tracking using Google Tag Manager.
It is possible to trigger tags based on almost any clicks within your website and pass this information to any marketing or analytics tag. For example, tracking “Add to cart” button clicks and sending an event to Facebook pixel, or collecting click data from internal banner and plot its usage in Google Analytics.
Find element that you want to track
Before we start tracking anything it is important to do a little investigation and find elements that you actually want to monitor, so we can get an element’s CSS selector that will be used within Google Tag Manager trigger settings.
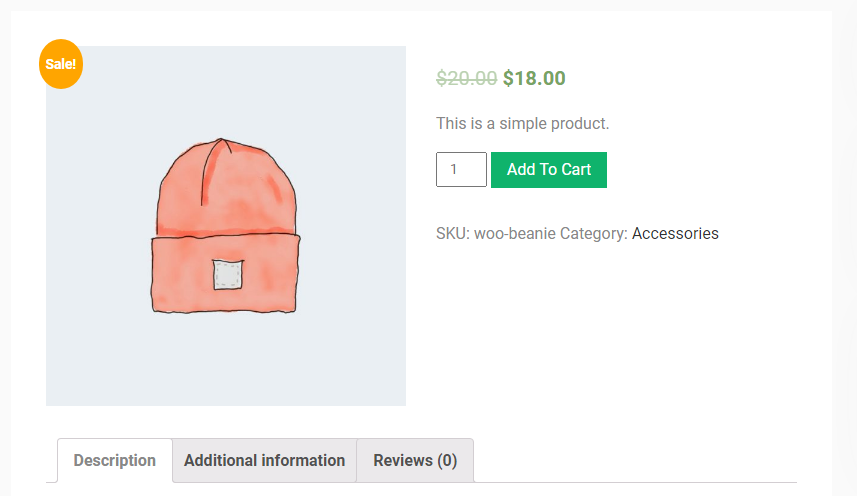
In my example, I will track add to cart button clicks and send it as a custom event to Google Analytics.
We can inspect the element by right-clicking on it and selecting – Inspect (I’m using Google Chrome, but you can use other modern browsers for this purpose as well).
If you are not familiar with browser’s inspect mode yet, then for our purposes, it’s basically a very handy way of how to preview your website element code and sometimes debug your tracking tags and dataLayer.
For this use case, we are interested to find HTML code of our Add to cart button:
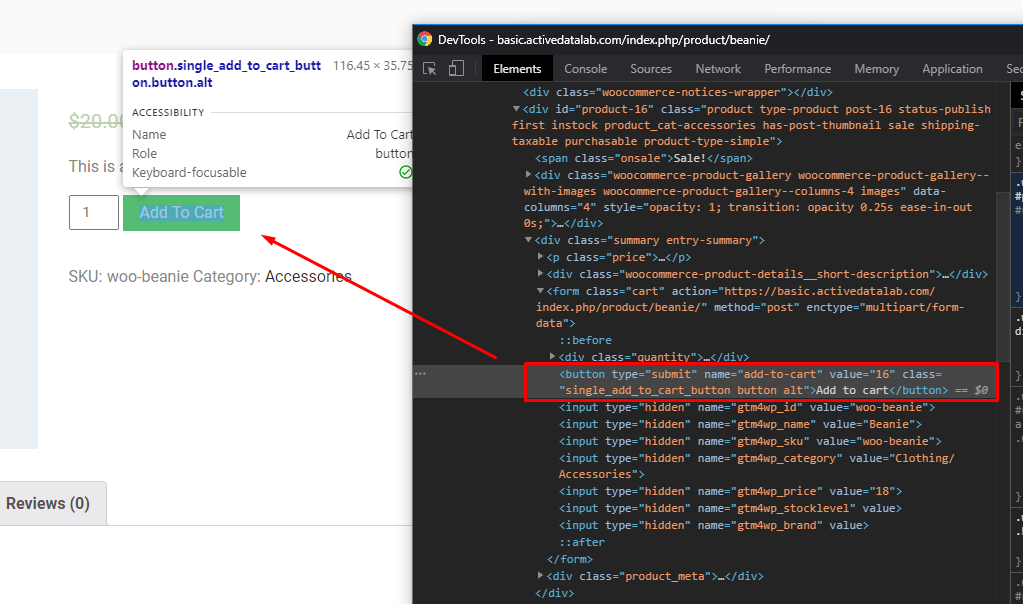
You can see that after clicking “Inspect” the brower highlights the location of the element in HTML code so you can easily find classnames or ids that will be needed to target this button.
If you are using Google Chrome and take a closer look, you will also see that it shows you a possible CSS selector that you could use in your GTM trigger settings.
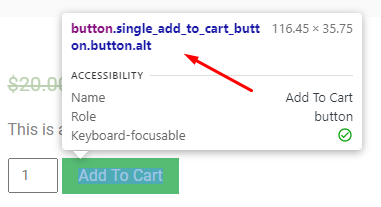
In my case – button.single_add_to_cart_button.button.alt is offered as CSS selector which I could use to track clicks on Add to cart button. Usually, this all we need to get started with click tracking.
Things to note here:
• Sometimes there could be multiple elements with a same CSS selector, so you must make sure that you are selecting the right one, or just search in Inspect mode if any other block has the same class name (Ctrl + F or Command + F)
• Sometimes your element might be placed into an iframe, and in case it belongs to 3rd party domain, click tracking might not work.Create a click trigger in GTM
Create a click trigger in GTM
Now when we know what element to target and it’s CSS selector, let’s create a trigger.
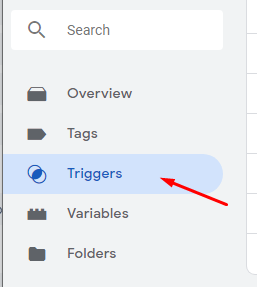
Go to Triggers section and click on New:
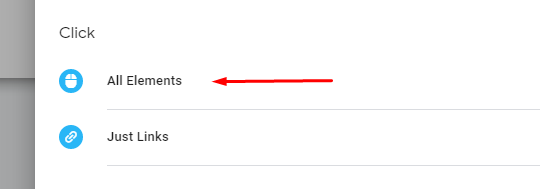
I will name it – Click – Add to cart and select Click >> All Elements from configuration options.
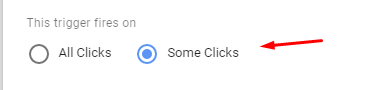
To target only Add to Cart button and not all clicks on our website, we need to select Some clicks
From the first dropdown below we need to select Click Element in order to limit trigger to a specific object. If you don’t see such option in your list, then you need to enable this built-in variable by clicking – “Choose Built-in variable”
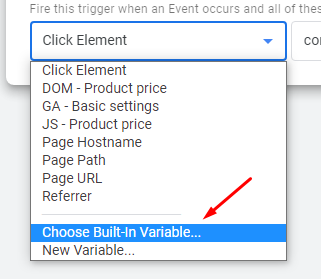
And from the list select – “Click Element”

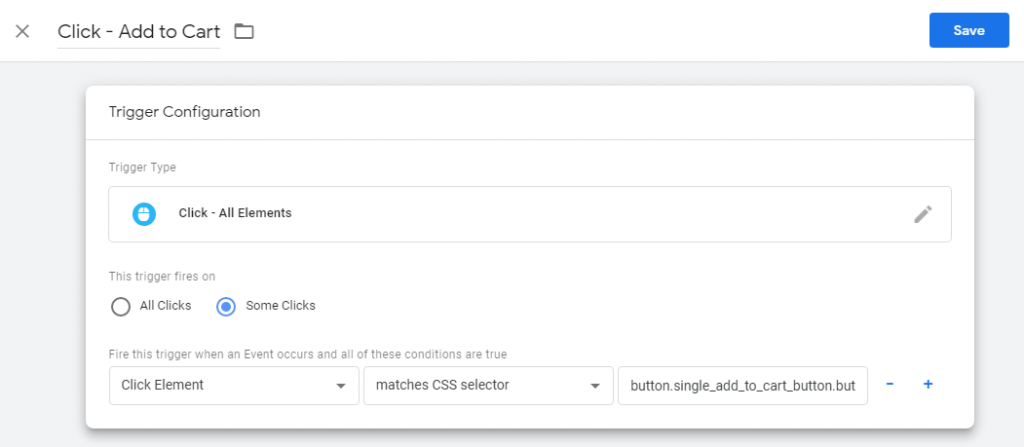
From the second dropdown we need to pick HOW are going to target our element and as I’ve mentioned above, we will use CSS selector, so you need to pick matches CSS selector.

Finally, we can copy the value from Inspection mode, and add it to third field. In my case that was – button.single_add_to_cart_button.button.alt . We can actually omit some of the values from this CSS selector, but I will not add too much complexity here, just to keep it simple and understandable.
Our final settings should look somehow like this:
We can save the trigger now and create a tag that we want to execute on a button click.
Create a tag to fire on click
Let’s go to Tags section and create a new one.
I will name it – GA – Add to cart and from Tag configuration select – Google Analytics: Universal Analytics a I want to send an event to GA. You can easily select any tag type to trigger after your element was clicked.
From Track Type, I will pick “Event” as this is the hit type I want to send to my account, and specify Category, Action, and Label values that I want to see in my Behavior report.
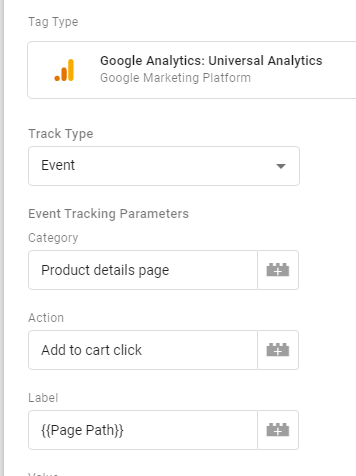
For the Label value I will just use my product page path, that can be accessed from GTM’s default variable {{Page Path}}. You can send here any values that you want to be available in your reports (E.g. product SKUs, names, prices etc).
Then you need to select your Google Analytics settings variable to specify the account where you want to send this data. If you don’t have such a variable created yet, you can add Google Analytics tag in your GTM account by following this article.
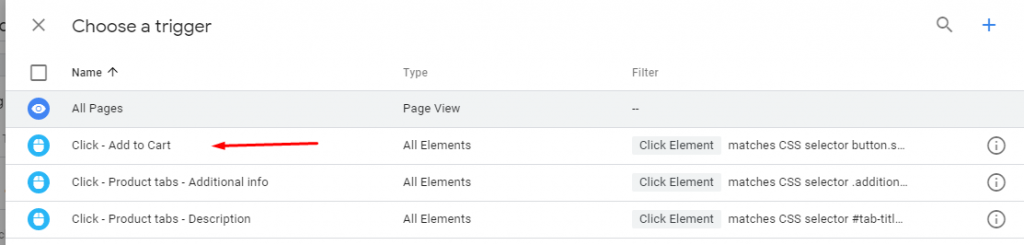
As the final thing – pick a Click trigger that we have just created, by clicking on “Triggering”.
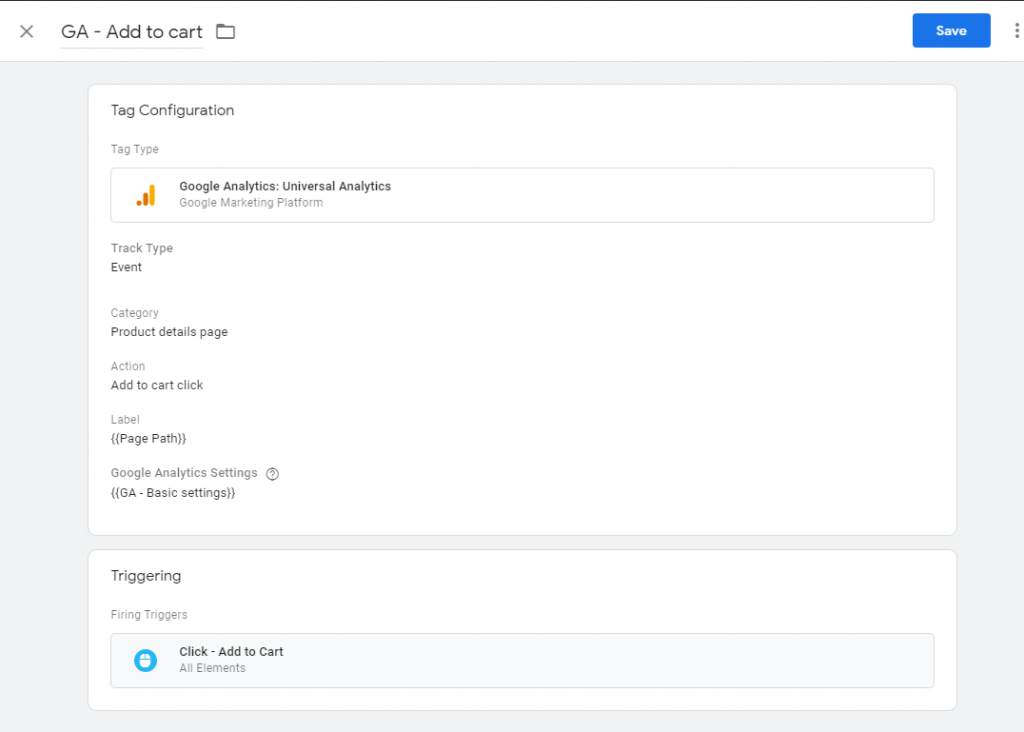
And now your tag settings should look similar to mine, if you are sending event to GA:
We can save our tag now, and let’s do some testing to ensure that everything works properly.
Preview and launch Live
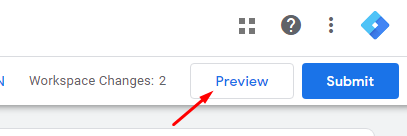
Click on the “Preview” button in the upper right corner
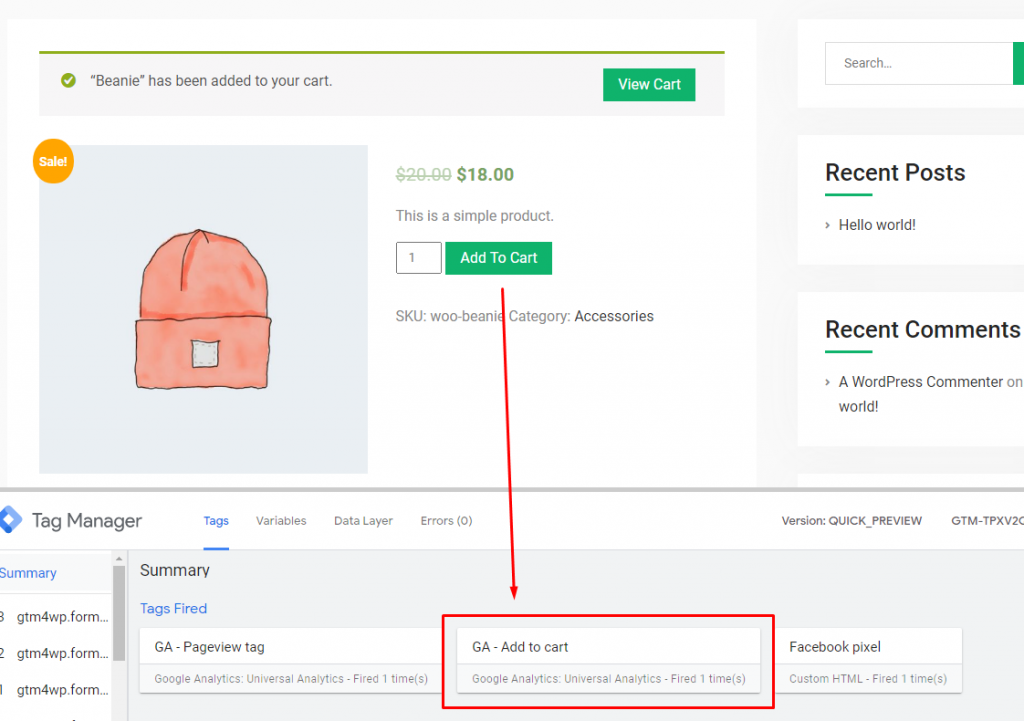
and after GTM shows that Preview mode has started, refresh your website page and try to click on the element you are tracking. If you have done everything correctly, you should see your Tag starting each time you click on the element as below:
After you are happy with the result, as usual, press “Submit” in your GTM interface and publish your changes to available for all website visitors.
And congratulations, Now you have managed to setup Click tracking using Google Tag Manager!
Things to consider
- You can’t easily track clicks on elements inside iframes, be sure to check that before you start doing the setup in GTM.
- Watch out of website design changes. Even small adjustments win class names, IDs or element arrangement on the page can easily break your setup. You san setup some monitoring or a dashbaord for most important events and check on them once in a while.
Hope you found it useful, and happy click tracking!
